The kulmus
(quill/reed pen)
Keset Hasofer
(The inkwell of the scribe) states: "On every occasion one must check that the kulmus
is well-formed [lit. nice]. Some say that one must write [only] with a quill [made] from a reed and not from a feather, but we do not adhere to this custom rather we write with a feather, and even with a quill made of iron" (This is very strange ruling and not the case at all as one is not to use metals that are used for warfare in sofrut, however Rashi also mentions the use of metal pens, so this must have permissible at some time in the past)" And there is some doubt as to if it permissible to write with a feather from an unclean bird."
Scribes by and large use quills (though some Sefardi scribes will use a reed (which are sometimes referred to as "calamus" from the Greek)).
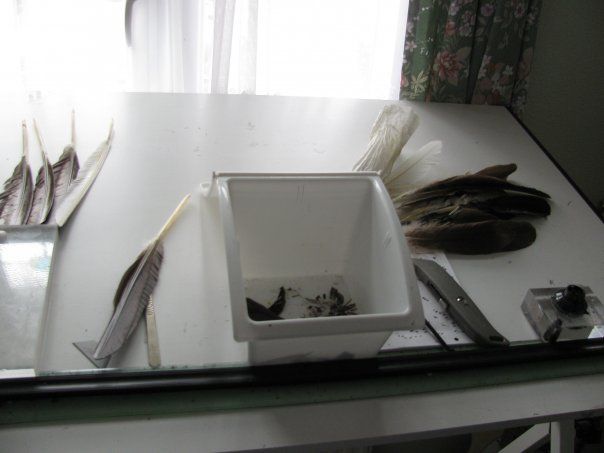
Below are the various stages in the preparation of a quill and writing with a quill is very different indeed to any calligraphy pen one may have used. Most common are the leading edge feathers of the turkey, the goose and the swan, though the latter is harder to source. One needs sharp cutting tools and sharp steel "Stanley" knife, a scalpel and a loose knife blade for the final cut are pre-requisites.
Some people will heat their quills to harden and clarify them (remove the natural oils) but this is not absolutely necessary. Apparently the simplest method is to position the quill about 5cms above a hot plate and rotate it for about ten seconds (too long an exposure will render the quill too brittle). However there are other methods involving plunging the quill into hot sand! Some will soak their quills before cutting them - called 'wet cut'.
I don't bother with all of that. I just take the quill, strip off the barbs, clean it, scrape it, take out the 'guck' (technical term) and then shape it.
Below photos of the core stages. Photos © Mordechai Pinchas.

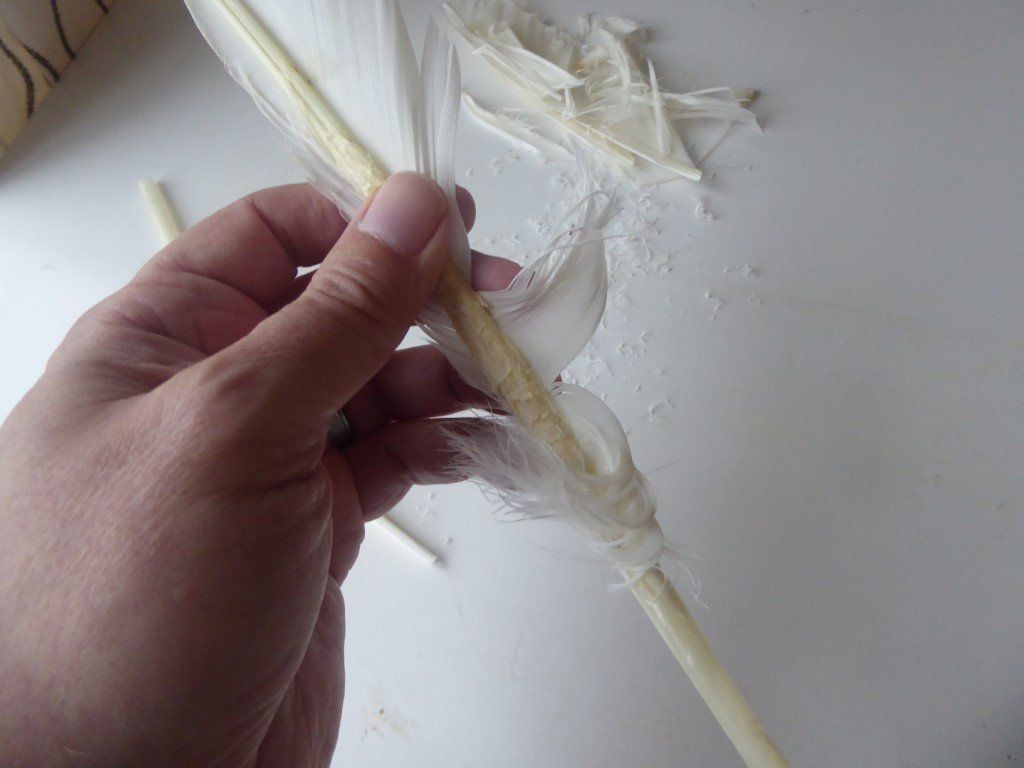
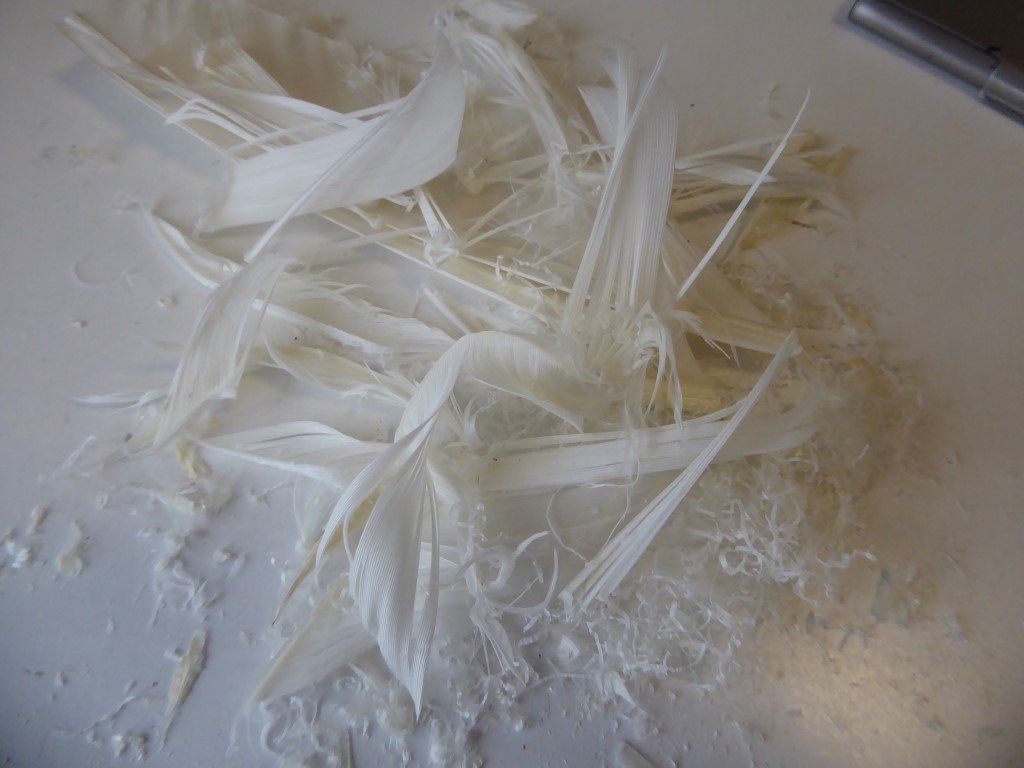
Strip the plumes with a firm grip and downward pressure to remove them. Sorry to spoil the illusions but those pictures of scribes using barbed quills are misleading. A fully barbed quill may well be good for photo opportunities, but leaving the barbs there makes the quill very difficult to use and worse could tickle your nose and make you sneeze all over the parchment. There is halachah
that suggests you blow your nose before starting work - very practical those poskim
(deciders of law). Scrape off the outside quill sheathing that coats the feather with the back of a knife. Try to get it all off the cutting end or it will not cut cleanly.
THIRD CUT - cut down to the feather lower wall. Clean out debris in feather - using a wire brush or (the sort used to clean shavers are best) or pipe cleaner.
FOURTH CUT - flatten lower wall on glass or perspex and cut a nick in it. Push gently upwards at nick to split the feather for the ink canal. If you press your thumb on the quill the ink canal split should stop at the thumb pressure. A length of 6mms is more than adequate.
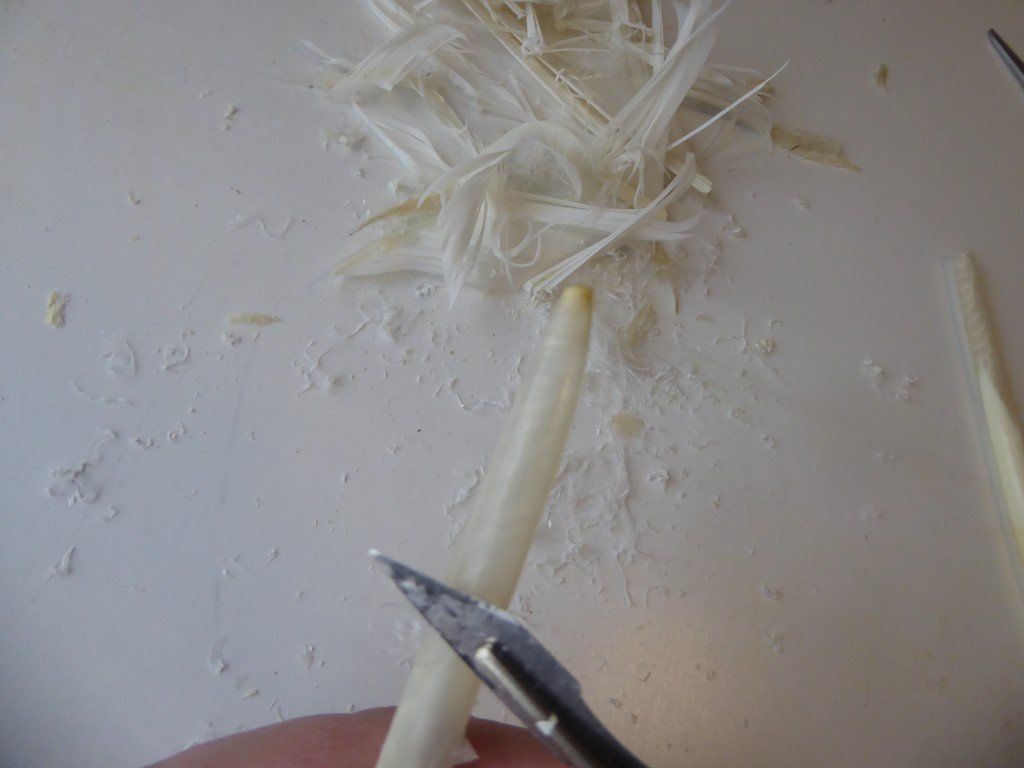
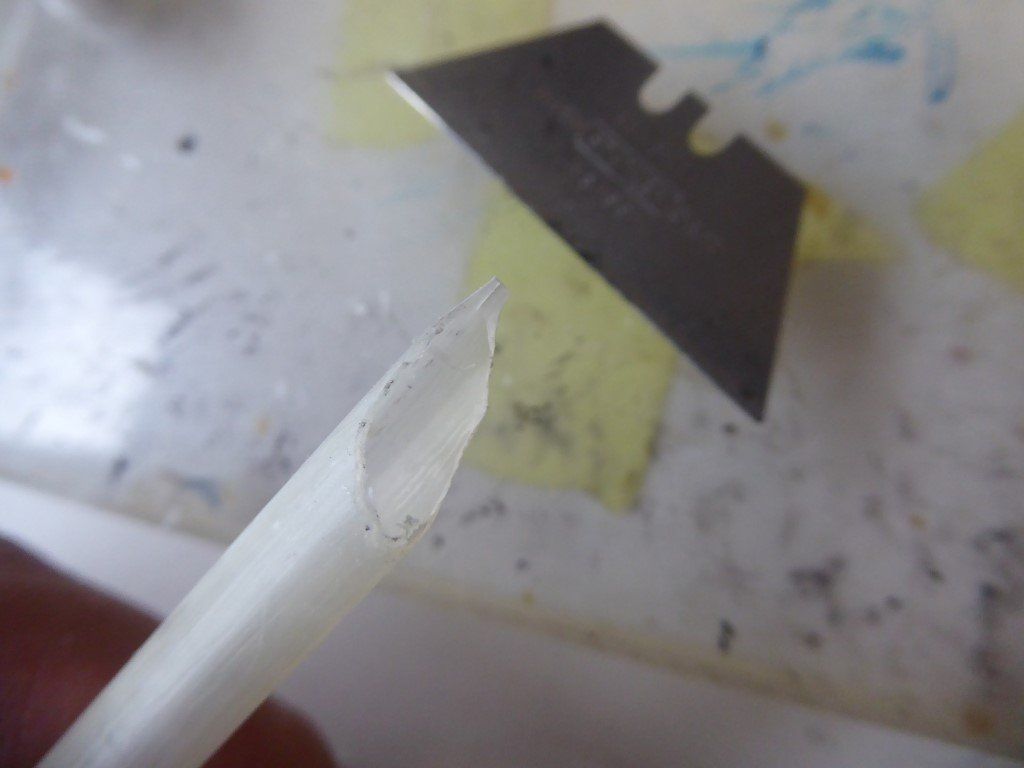
FIRST CUT - slice off feather’s tip.
SECOND CUT - from the upper wall slice down and horizontally about half way.THIRD CUT - cut down to the feather lower wall. Clean out debris in feather - using a wire brush or (the sort used to clean shavers are best) or pipe cleaner.
FOURTH CUT - flatten lower wall on glass or perspex and cut a nick in it. Push gently upwards at nick to split the feather for the ink canal. If you press your thumb on the quill the ink canal split should stop at the thumb pressure. A length of 6mms is more than adequate.
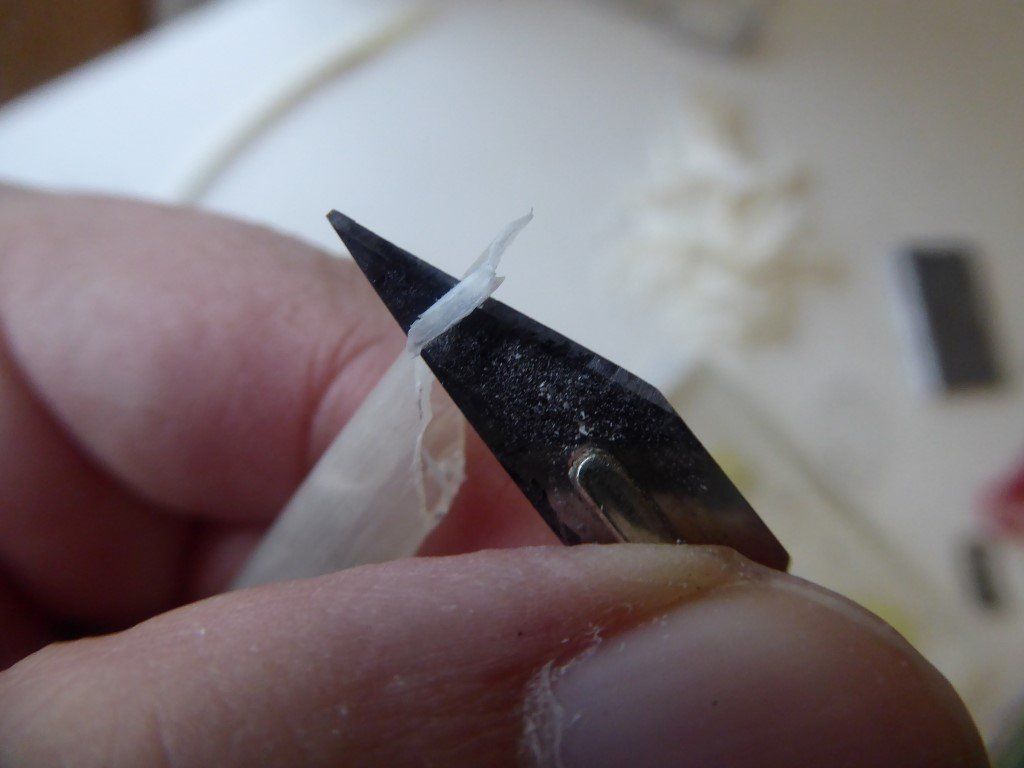
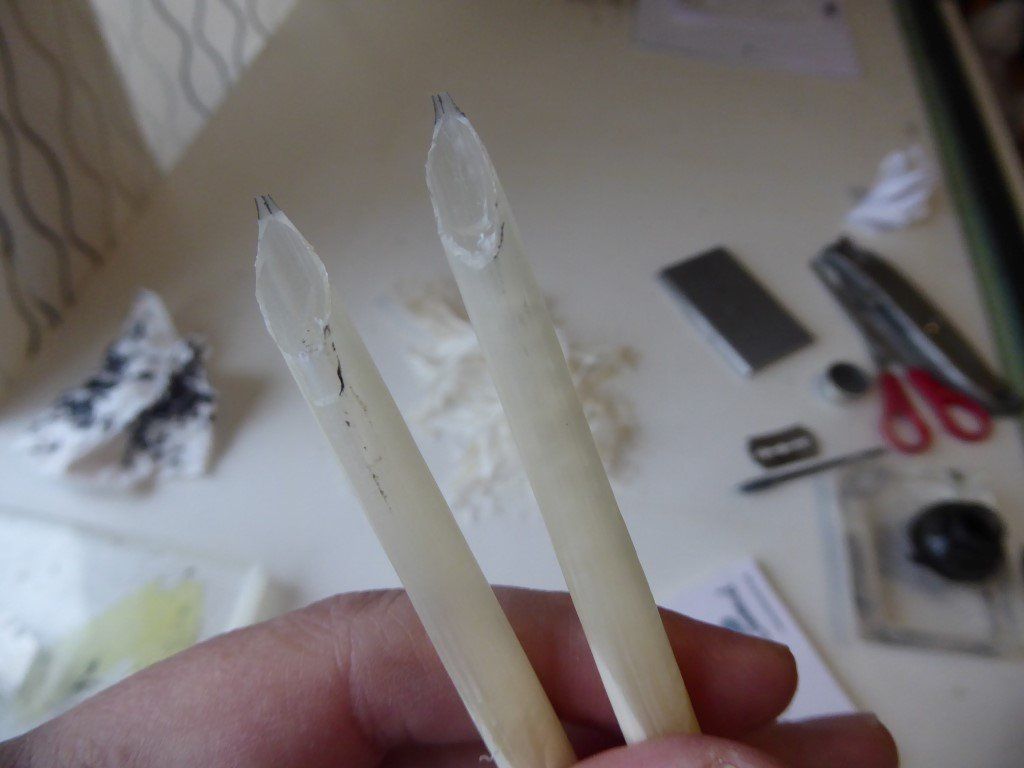
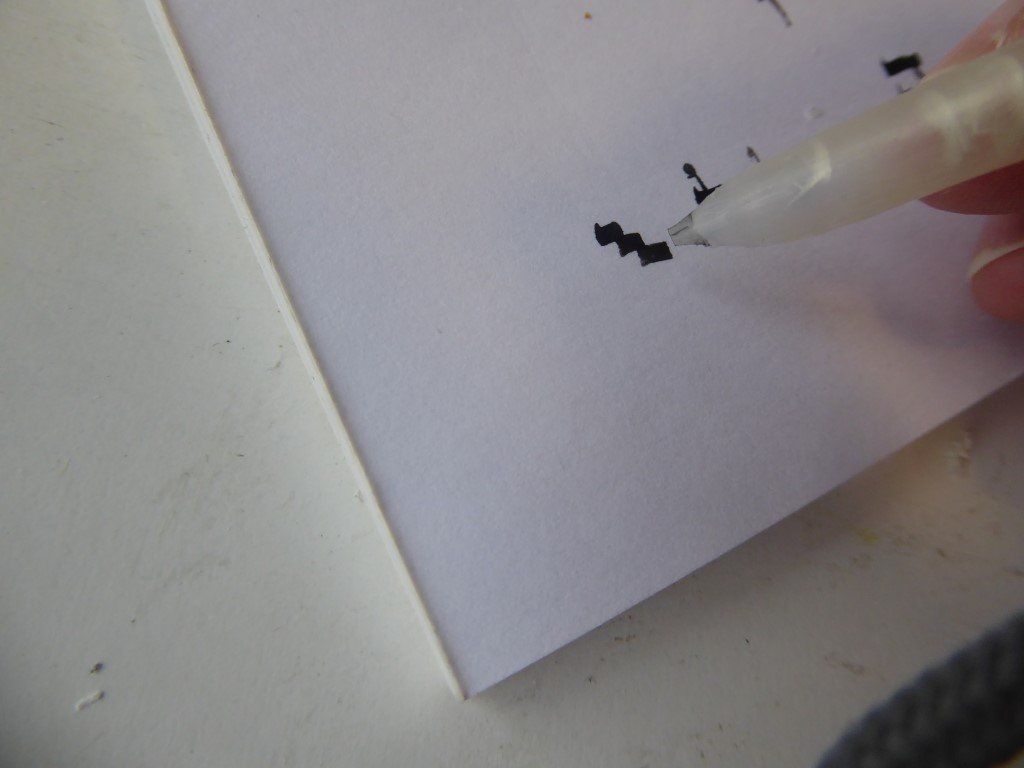
FIFTH CUT - turn over the quill and cut end with an even pressure on the glass/perspex. A loud “click” confirms a good sharp cut and thus a clean edge. Hebrew requires a cut sloping to the LEFT side. (English is written best with an even cut or one sloping to the right). You may want to pare the nib further to complete the quill to obtain the fine lines.
Below: Some more photos of the various stages. Photos © Mordechai Pinchas.